Back Stitch is the stitch you learn once you’ve mastered Straight Stitch and Running Stitch. It’s a flat, tidy stitch that’s worked forwards on the top surface and backwards on the reverse, creating a strong, continuous line.
It’s also a sturdier option when you’re joining two pieces together.
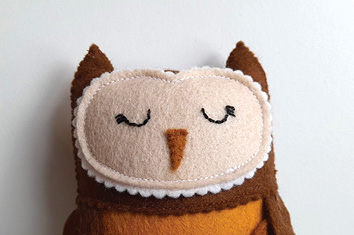
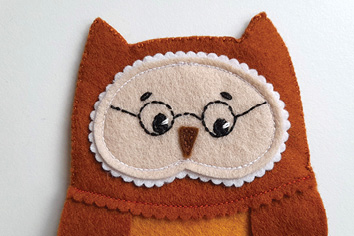
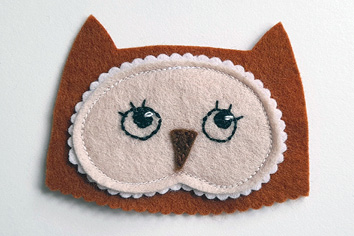
I often use Back Stitch for outlining details, such as the glasses on my owls (see the photographs below).
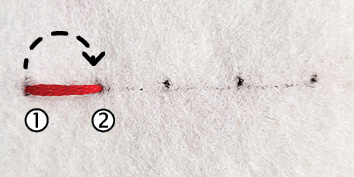
Step 1 – Thread your needle and knot the end. For your first stitch, bring the needle up from the back at 1 and take it down again at 2.
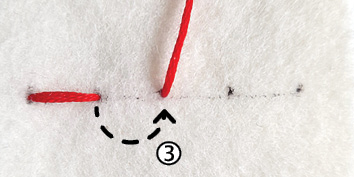
Step 2 – Next, bring your needle up from the back at 3 to begin the second stitch 2.
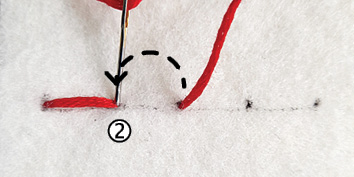
Step 3 – Insert your needle back down at 2.
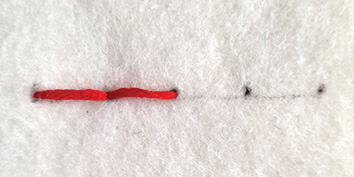
Step 4 – Keep the second stitch aligned with the first, leaving no space between them for a tidy finish.
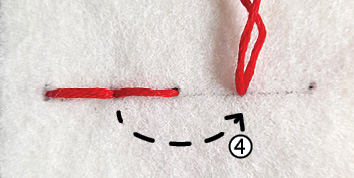
Step 5 – Next, bring your needle up from the back at .
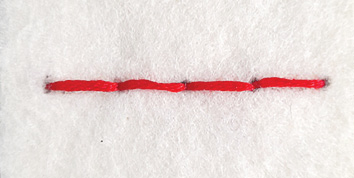
Step 6 – Continue sewing until you complete you row of stitches.
When you reach the end of the row, knot the thread on the back to secure your stitches.
Here is a free downloadable sheet of the above.
Leave a Reply