
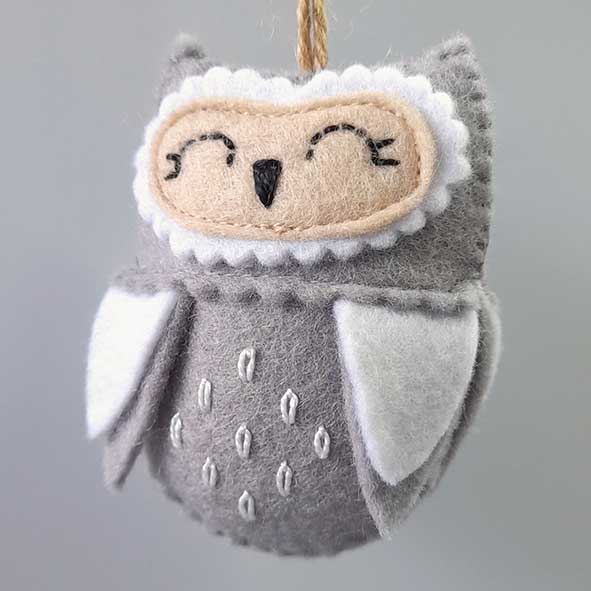
Detached Chain Stitch is all about creating neat, delicate loops that sit beautifully on the surface of your fabric. It’s one of my favourite embroidery stitches because it gives you the freedom to create flower petals, tiny leaves (which become the well‑loved Lazy Daisy Stitch), and decorative teardrop shapes, perfect for adding feather details to the fronts of my mini felt owls. This simple hand embroidery technique looks wonderfully impressive yet remains incredibly beginner‑friendly, making it an essential stitch for anyone exploring slow stitching, felt craft, or nature‑inspired embroidery.
If you’re just starting out or want a clear, confidence‑boosting guide, I’ve created a free downloadable Detached Chain Stitch sheet, available on my Sewing Snips page. It’s designed to help you learn the stitch step‑by‑step and start adding beautiful embroidered details to your handmade projects.

Step 1 – Thread your needle with embroidery thread and tie a knot in one end. Insert the needle up through the fabric.
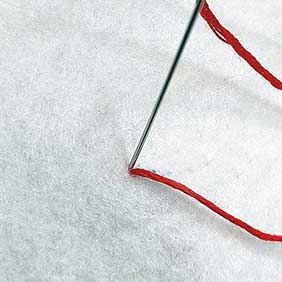
Step 2 – Next insert the needle back down through fabric using the same hole.
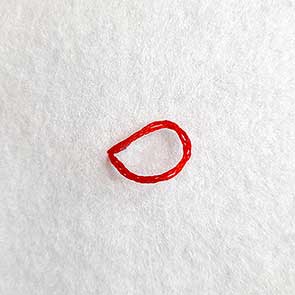
Step 3 – Don’t pull all the thread through to the back. Leave a small loop on the top of the fabric.
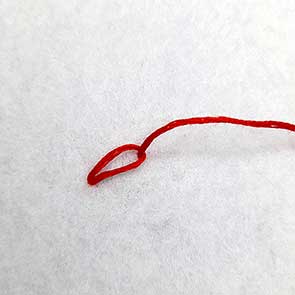
Step 4 – Next bring your needle back up through the fabric and inside the loop. At this point you are deciding the length of this stitch. Pull the loop taut against the thread.

Step 5 – Finish by bringing the needle over the end of the loop and down through the fabric making a small stitch to secure the loop place.
Leave a Reply