
The Whip stitch is one of those simple, dependable hand‑sewing stitches that every maker should have in their toolkit. This neat, slanted stitch wraps around the edge of your fabric to create a secure seam with a soft, handmade finish. It’s ideal for felt craft projects, adding small details to soft toys, or attaching appliqué to your latest make.
The Whip stitch is perfect for beginners learning to sew by hand. Once you find your pace, it becomes a calm, repetitive technique that gives you both control and beautifully even results.
In this Whip stitch tutorial, I walk through how to sew a clean, consistent whip stitch so you can join felt pieces neatly and confidently. If you’re exploring easy sewing techniques or looking for a reliable way to create strong seams in your felt projects, the Whip stitch is a brilliant starting point.
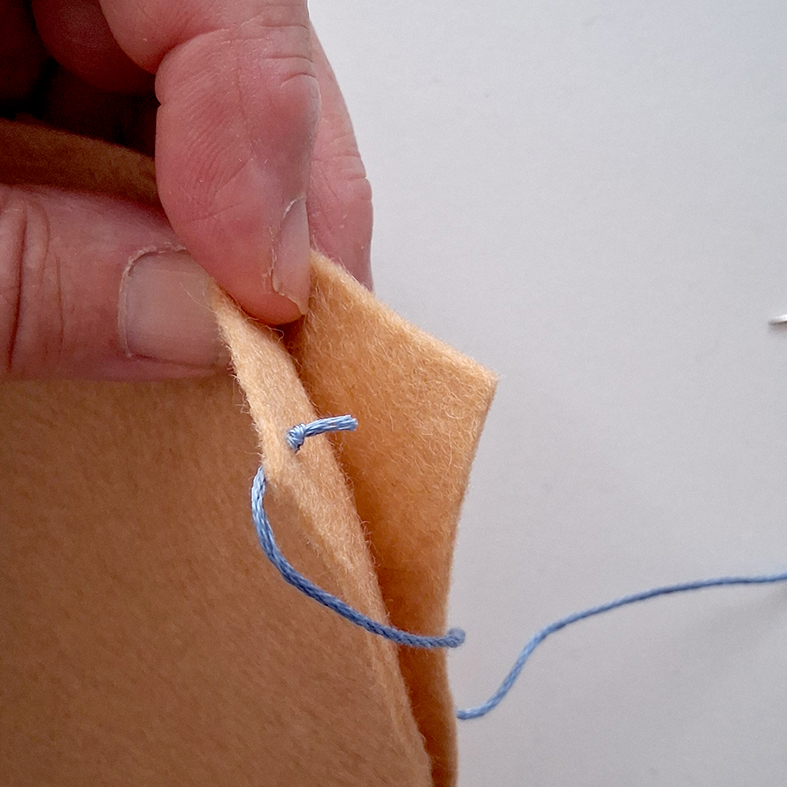
Step 1 – Thread your needle and tie a small knot at the end of the thread, then insert the needle between the felt layers and out through the front. The knot will be hidden inside.
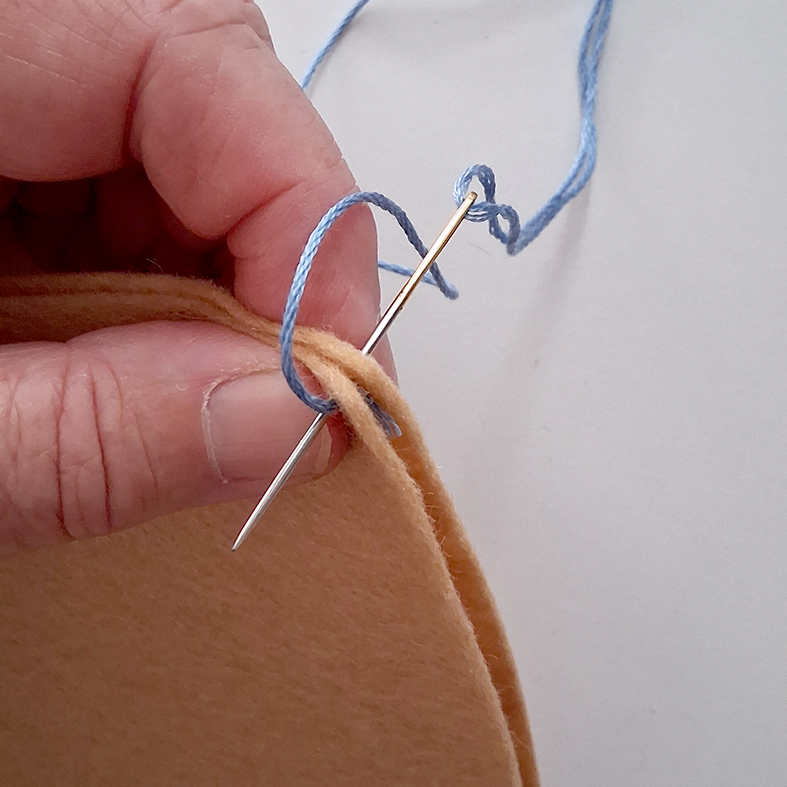
Step 2 – Start by making anchor stitches. Bring your needle up and over the edge of the felt, then insert it back down through both layers, placing the needle just beside the point where your thread first emerged.
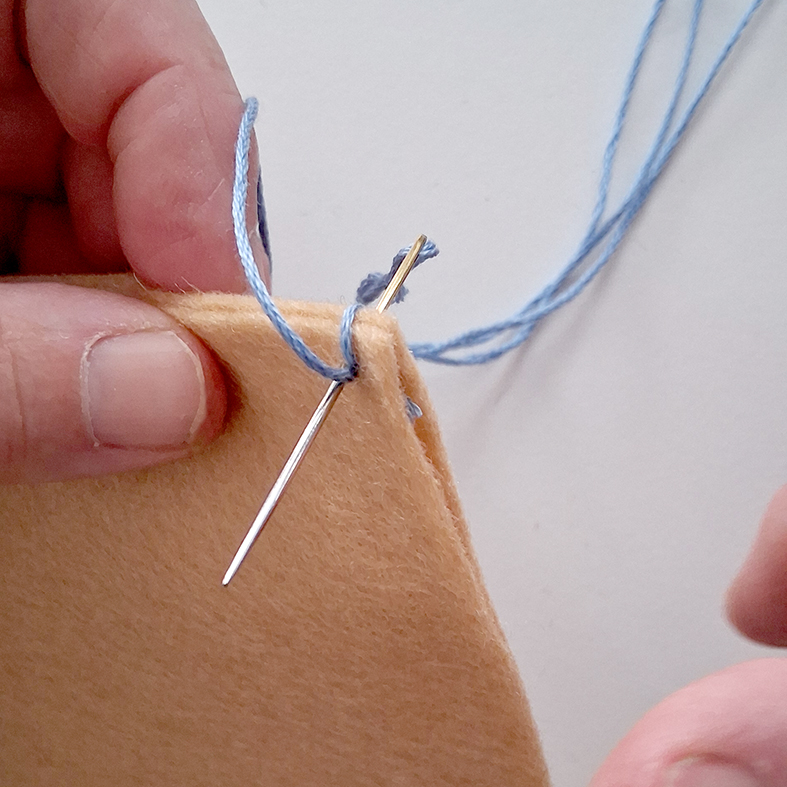
Step 3 – Add a second anchor stitch right beside the first one, pulling it snug so the two sit neatly together; this locks your thread in place and secures the starting point of your seam.
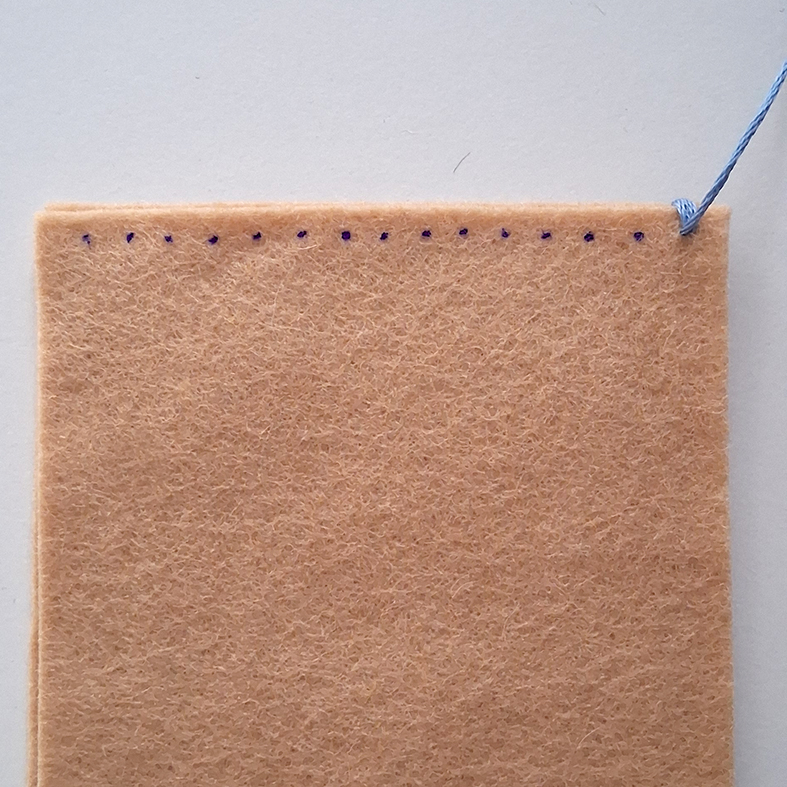
Step 4 – You could add evenly spaced dots along the felt edge, giving you a simple guide for keeping your stitches regular.
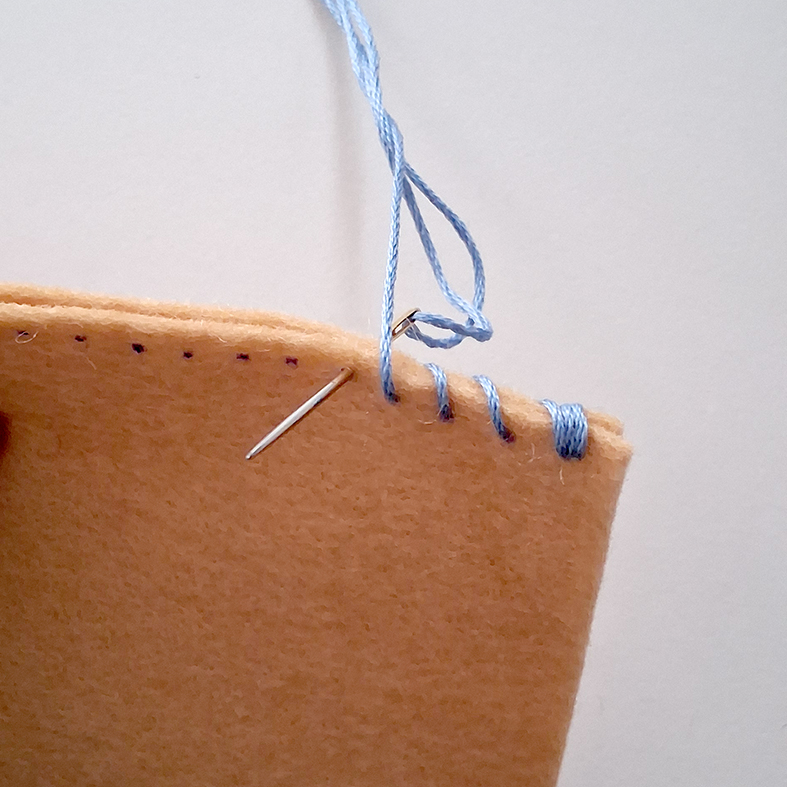
Step 5 – Now make a series of angled stitches over the edges of the felt, keeping each stitch the same distance apart and the same length, so the seam looks neat and even.
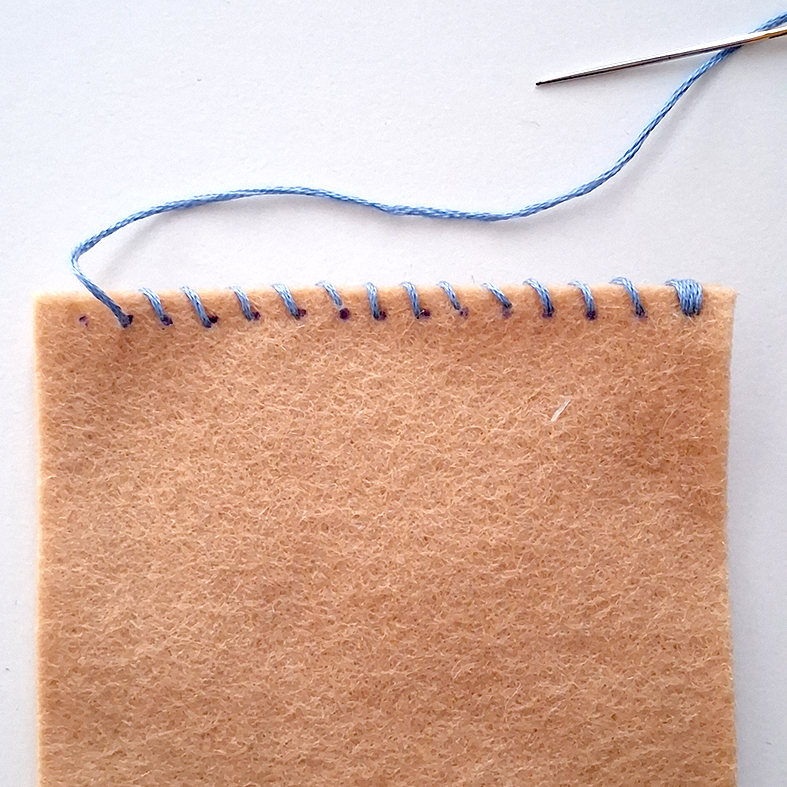
Step 6 – Continue until you reach the end of the seam.
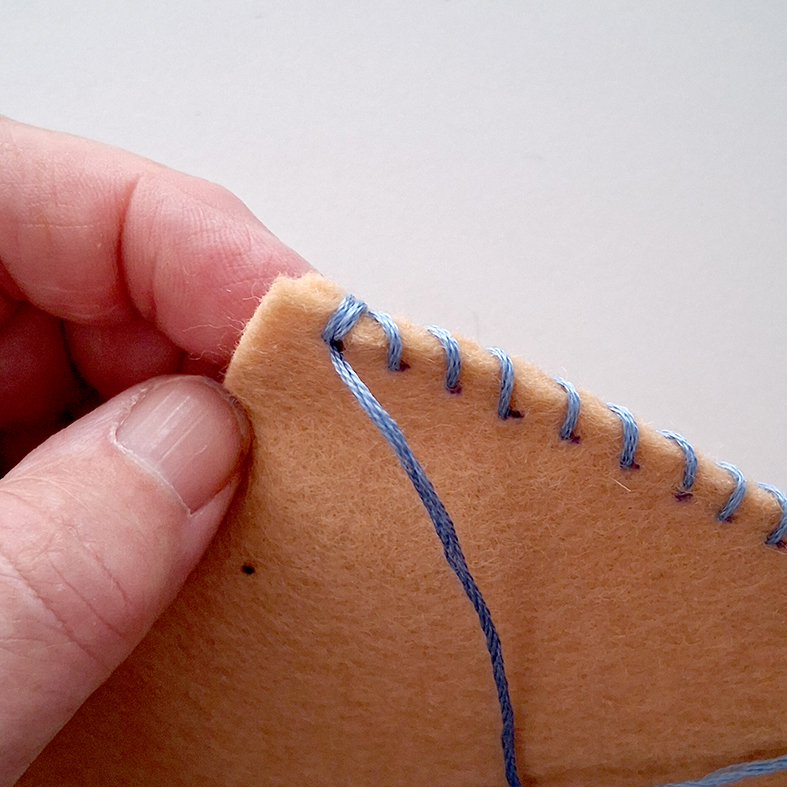
Step 7 – At the end of your seam, repeat steps 2 and 3 to create two anchor stitches to secure the thread.
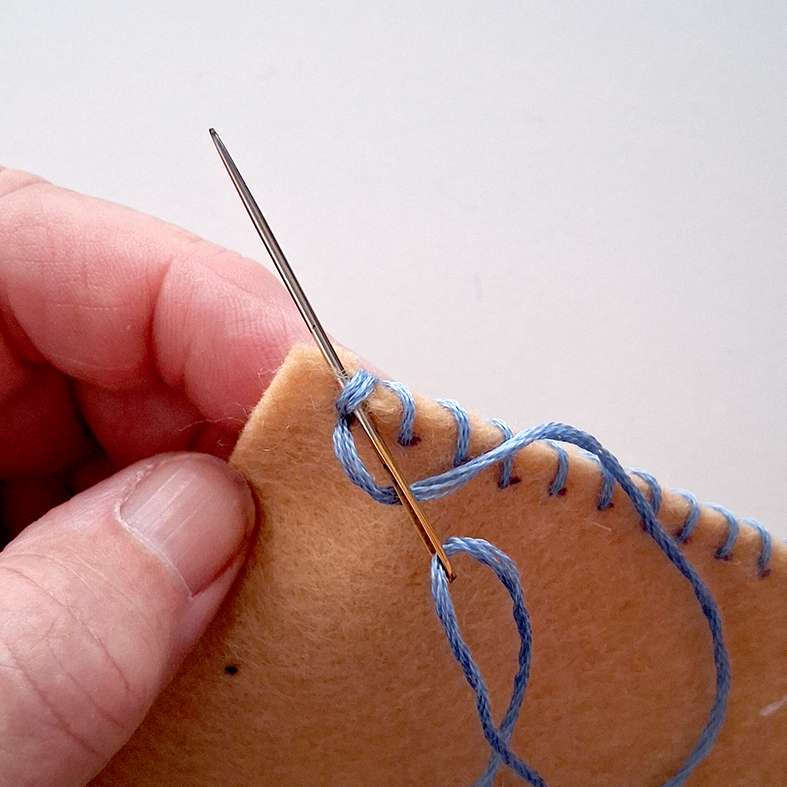
Step 8 – Insert your needle under the anchor stitches. Leave a loop, then slip the needle under the loop, pull the thread taut to tighten and form a knot.
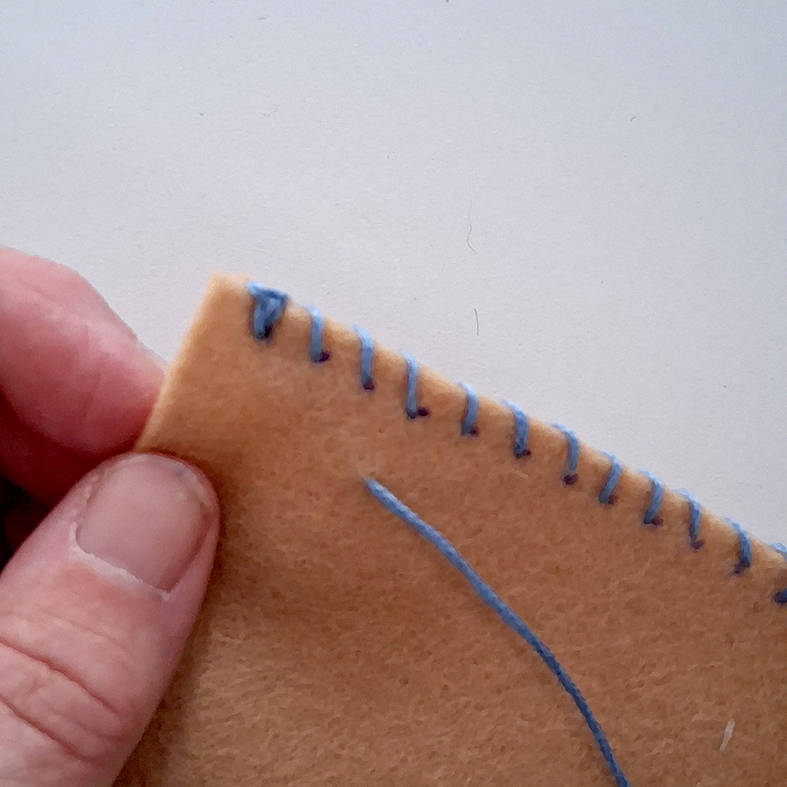
Step 9 – Insert your needle down through the felt layers at the edge, then bring it back out through the front of the felt. Snip off the thread close to the surface. The end of your thread will be within the felt layers.
Leave a Reply